Y’all, my husband has trained me well. And I’m not just saying that because he’s a CPA. Well before that, he has been teaching me about saving and being frugal…oh and woodworking.
All my mad skills, I owe to him! And thankfully, we’re kind of a match made in heaven because I love thrifting and second-hand shopping! (Although it can still get spendy there too, am I right?!)
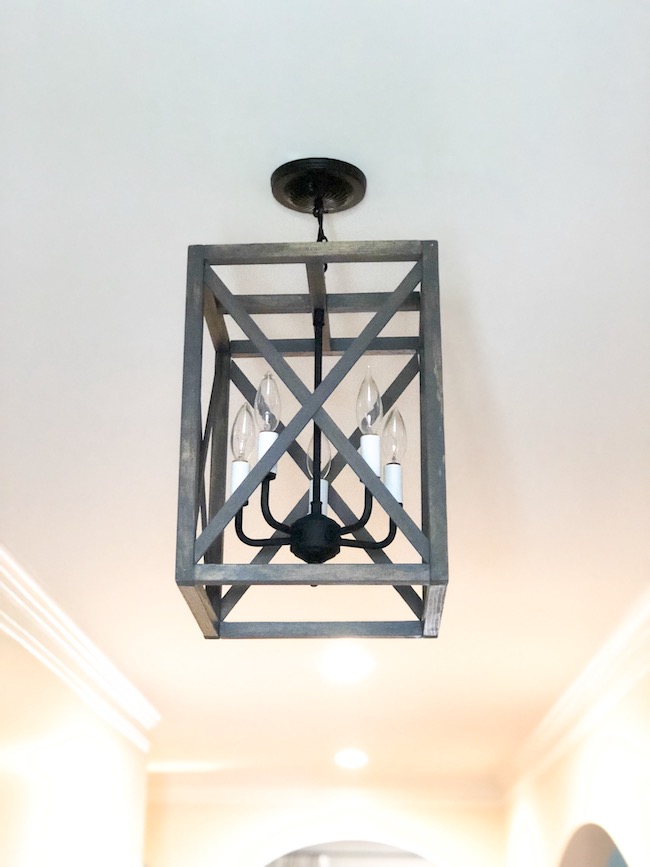
Anyway, here’s a throwback to this knock-off wood and iron chandelier that I built last summer!
I wanted a new one for our entry because no one likes boob lights. Let’s be real. Well, on my hunt for a new one, the ones I wanted were more than I was willing to spend.
With 4 kids and a single income, I’m all about a little work and a lot of savings. SO…I just decided to make one myself. And it turned out pretty dang good I must say. #flipthehair
$20 brass chandelier found on Facebook Marketplace
$15 wood from Lowes
Leftover flat black spray paint
Leftover stain
Check out my progress pics!
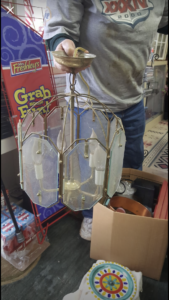
Started out with an outdated brass chandelier for $20!
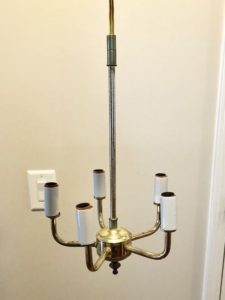
Removed the glass and got it down to its bare bones.
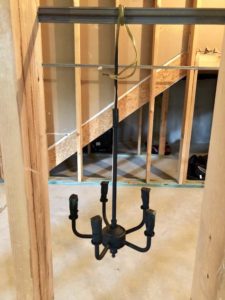
Taped it off and then spray painted it matte black.
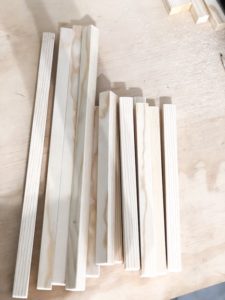
1″ x 1″ wood from Lowes
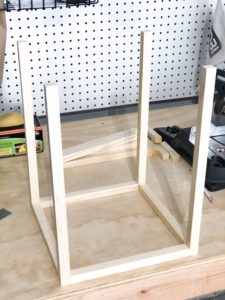
Started building the frame with dimensions to match the size of my brass chandelier.
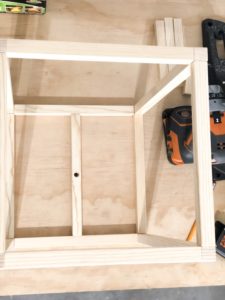
This hole is the top where I fed the electrical wires through.
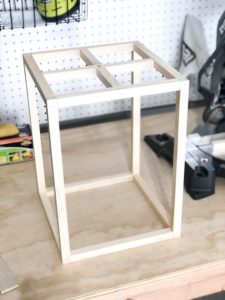
I used wood glue and finishing nails at each corner or joint.
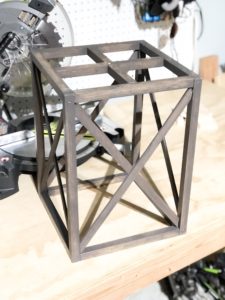
I added the X pieces using leftover 1/4″ wood that I ripped down. Then I attached them with wood glue.
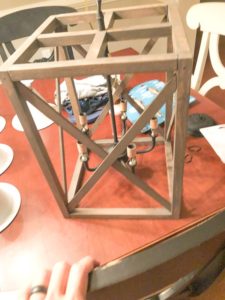
Assembled the chandelier and wood frame.
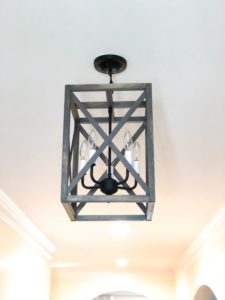
And here’s the final product! I LOVE IT! Hope you do too!
Aloha Y’all xoxo



Hey girl!
I just have to say I love all your DIY stuff!! It has inspired me to do some of my own! Keep up the awesome-ness and thanks for sharing. I’m always down to learn something new and creative. I’m repurposing my dining table and chairs now.. but I think I’m gonna try making my own signs next!
Take care and Much aloha,
Keala
Thanks girl! Please share with me all the things you do too!