What’s up
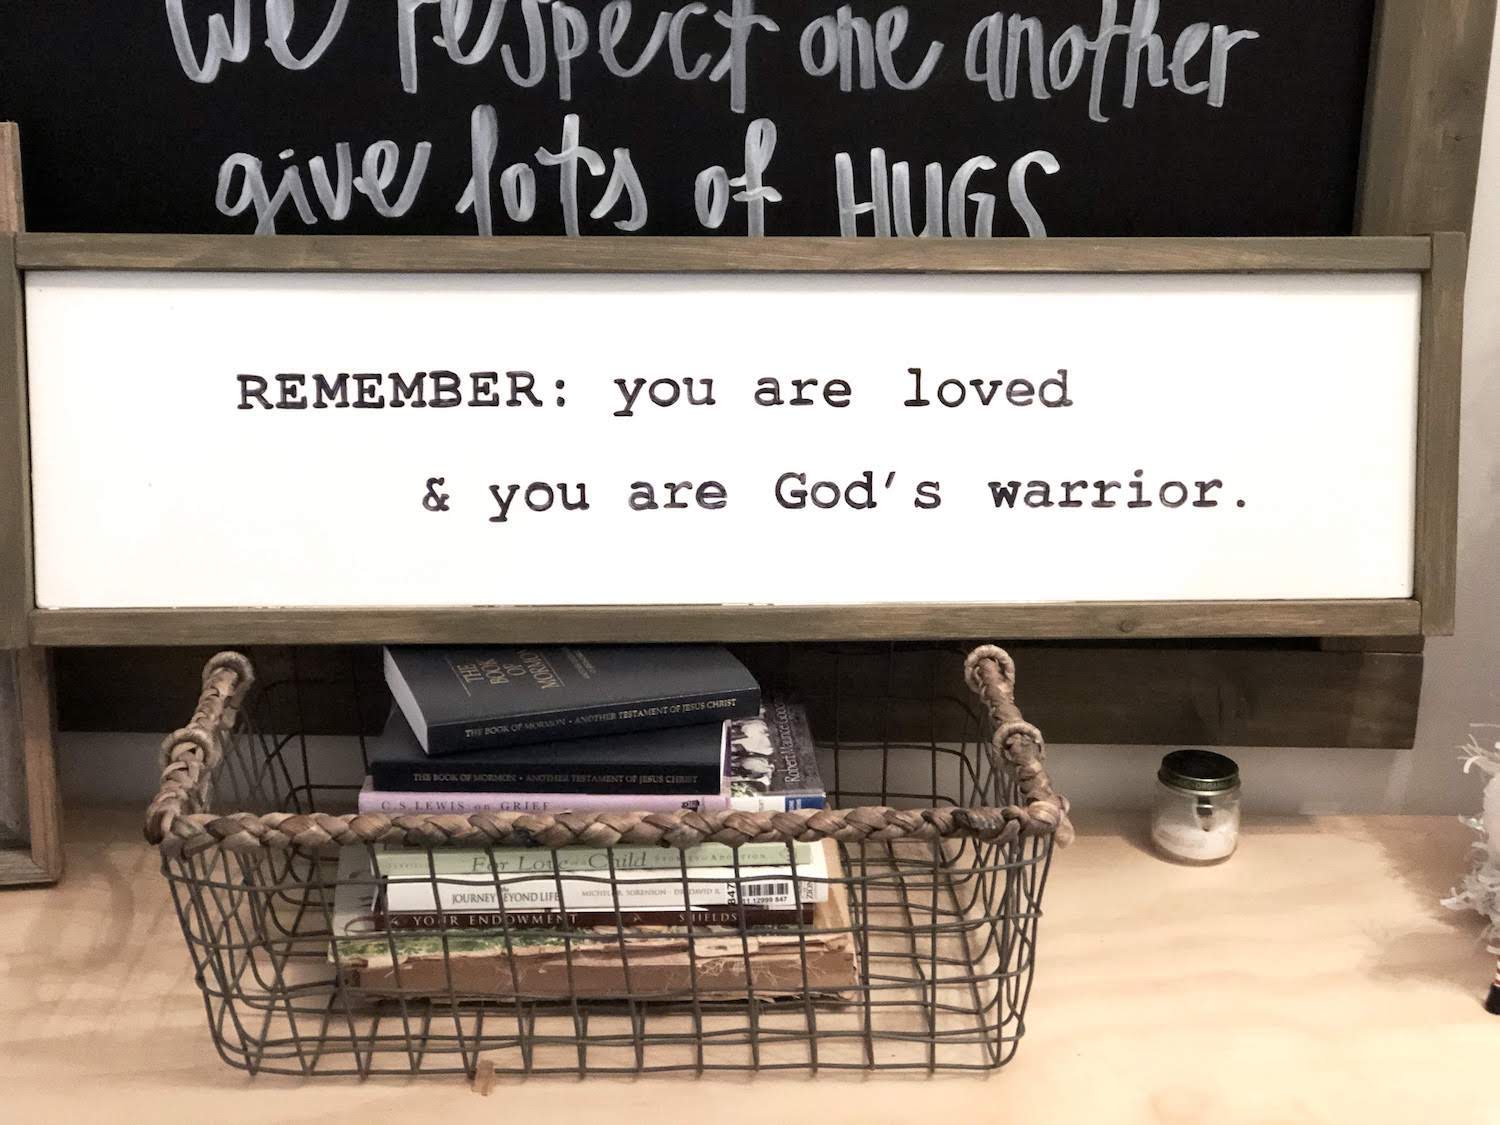
First off, this quote is what I tell my kids EVERY. MORNING. before they get on the bus to school…and actually, I will say “REMEMBER!” and they’ll yell back to me as they’re running down the driveway to the bus “WE ARE LOVED BY OUR PARENTS AND WE’RE GOD’S WARRIORS!” LOL 🙂 Doesn’t the image of that just make you chuckle? It’s pretty dang cute.
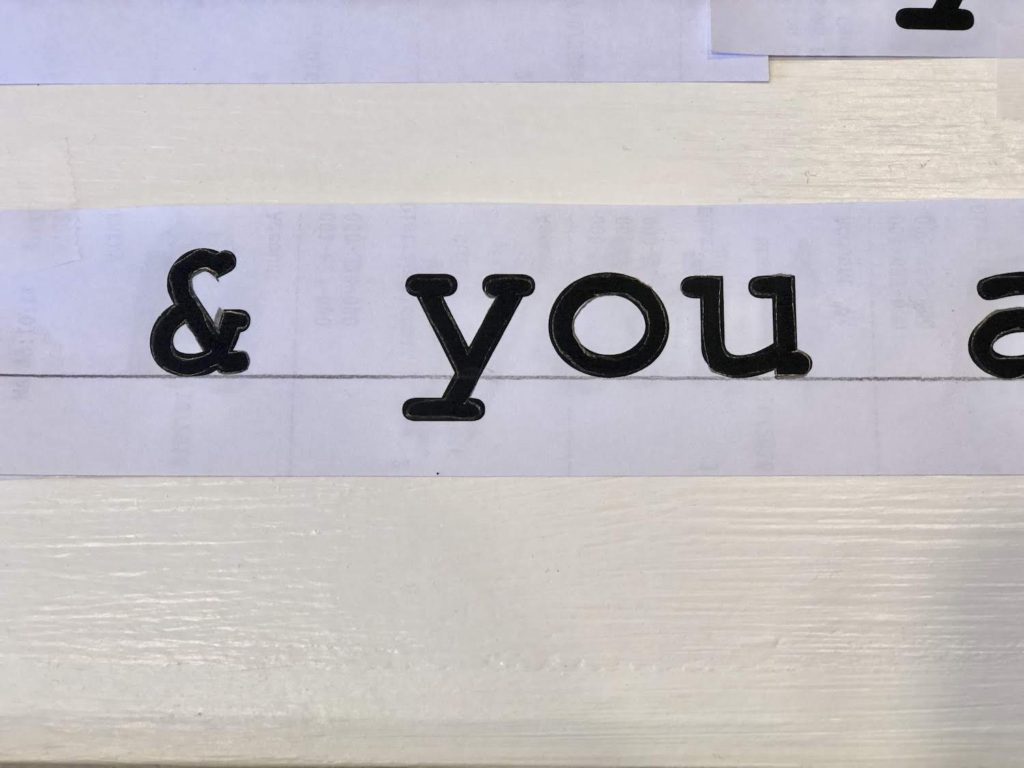
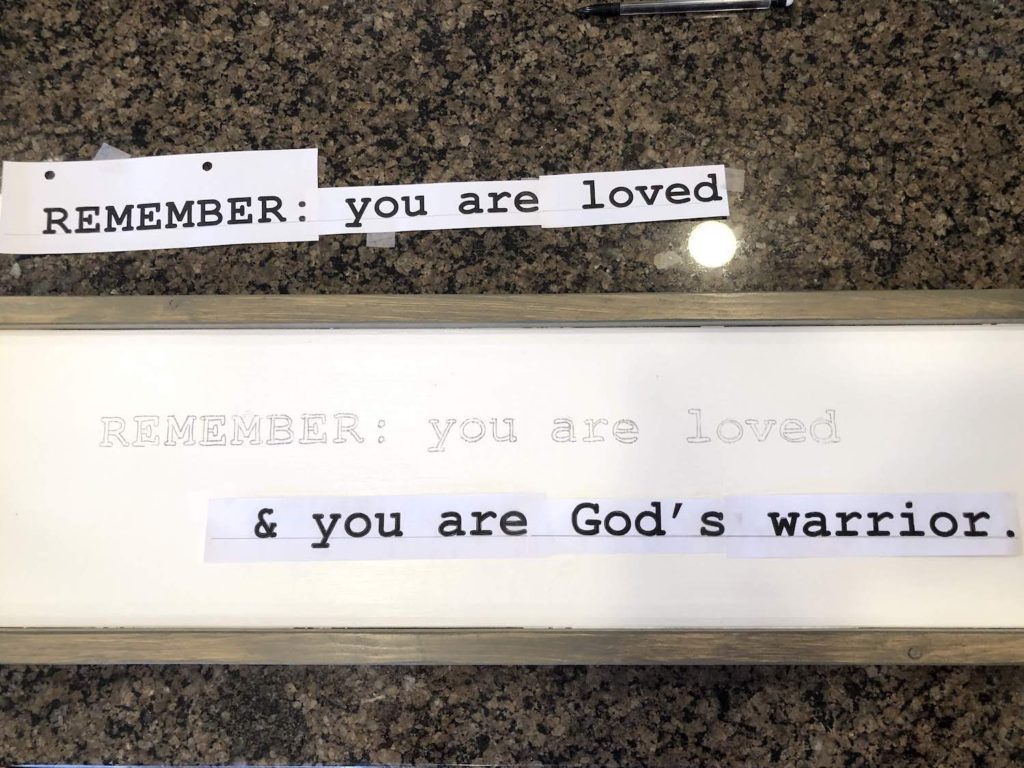
Anyway, the font is Courier New. I used font size 90 for my 24″ x 8″ sign. I printed out what I wanted my sign to say. I then had to draw a line under all the words because it ended up being printed on multiple sheets and I had to cut and connect each line. The traced line helped me to connect the pieces of paper easily. You can see the line I drew in this picture.
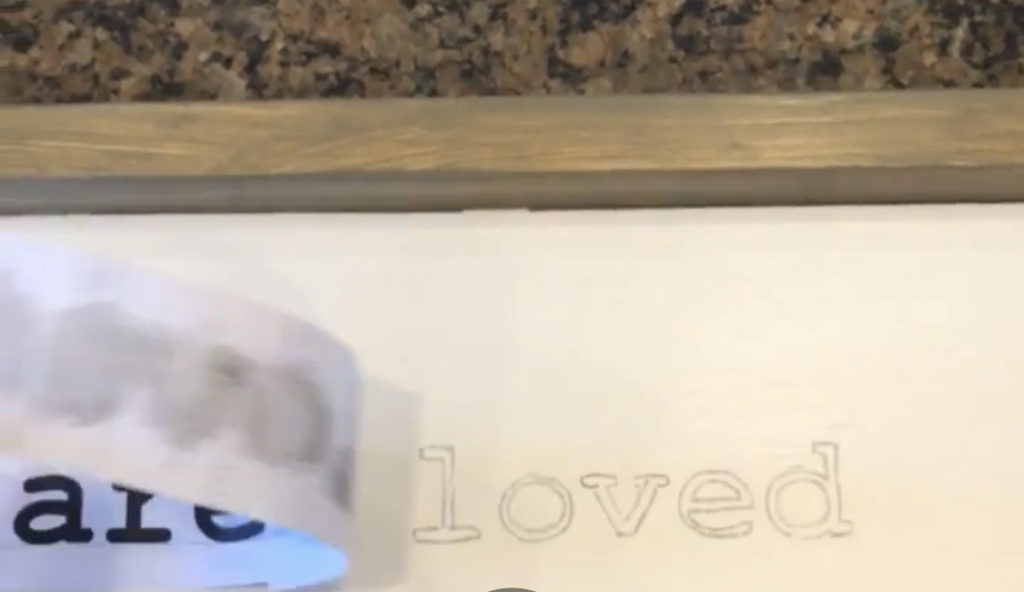
Then on the backside of the paper, I colored over the letters with a lead pencil (think carbon paper!). I placed the quote where I wanted it, taped it down, then traced over the letters with a mechanical pencil. That left an outline of the letters on the sign and was a simple and easy way to transfer my quote.
Lastly, I went over it with a permanent marker. I started off with a fine tip marker but quickly switched over to a wider felt tip Sharpie.
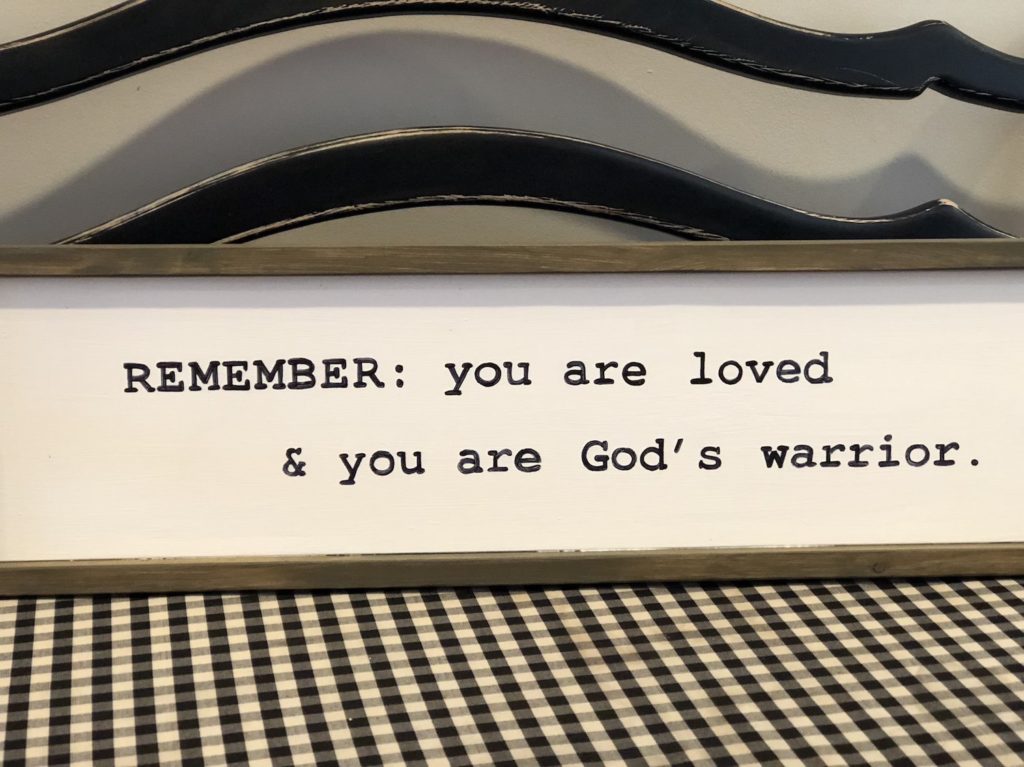
This took me all of 30 minutes to write on my wood sign! I did have to go back and erase all the lead residue from the pencil while tracing this (lefty probs!), but it seriously was SO easy!!
Aloha y’all xoxo