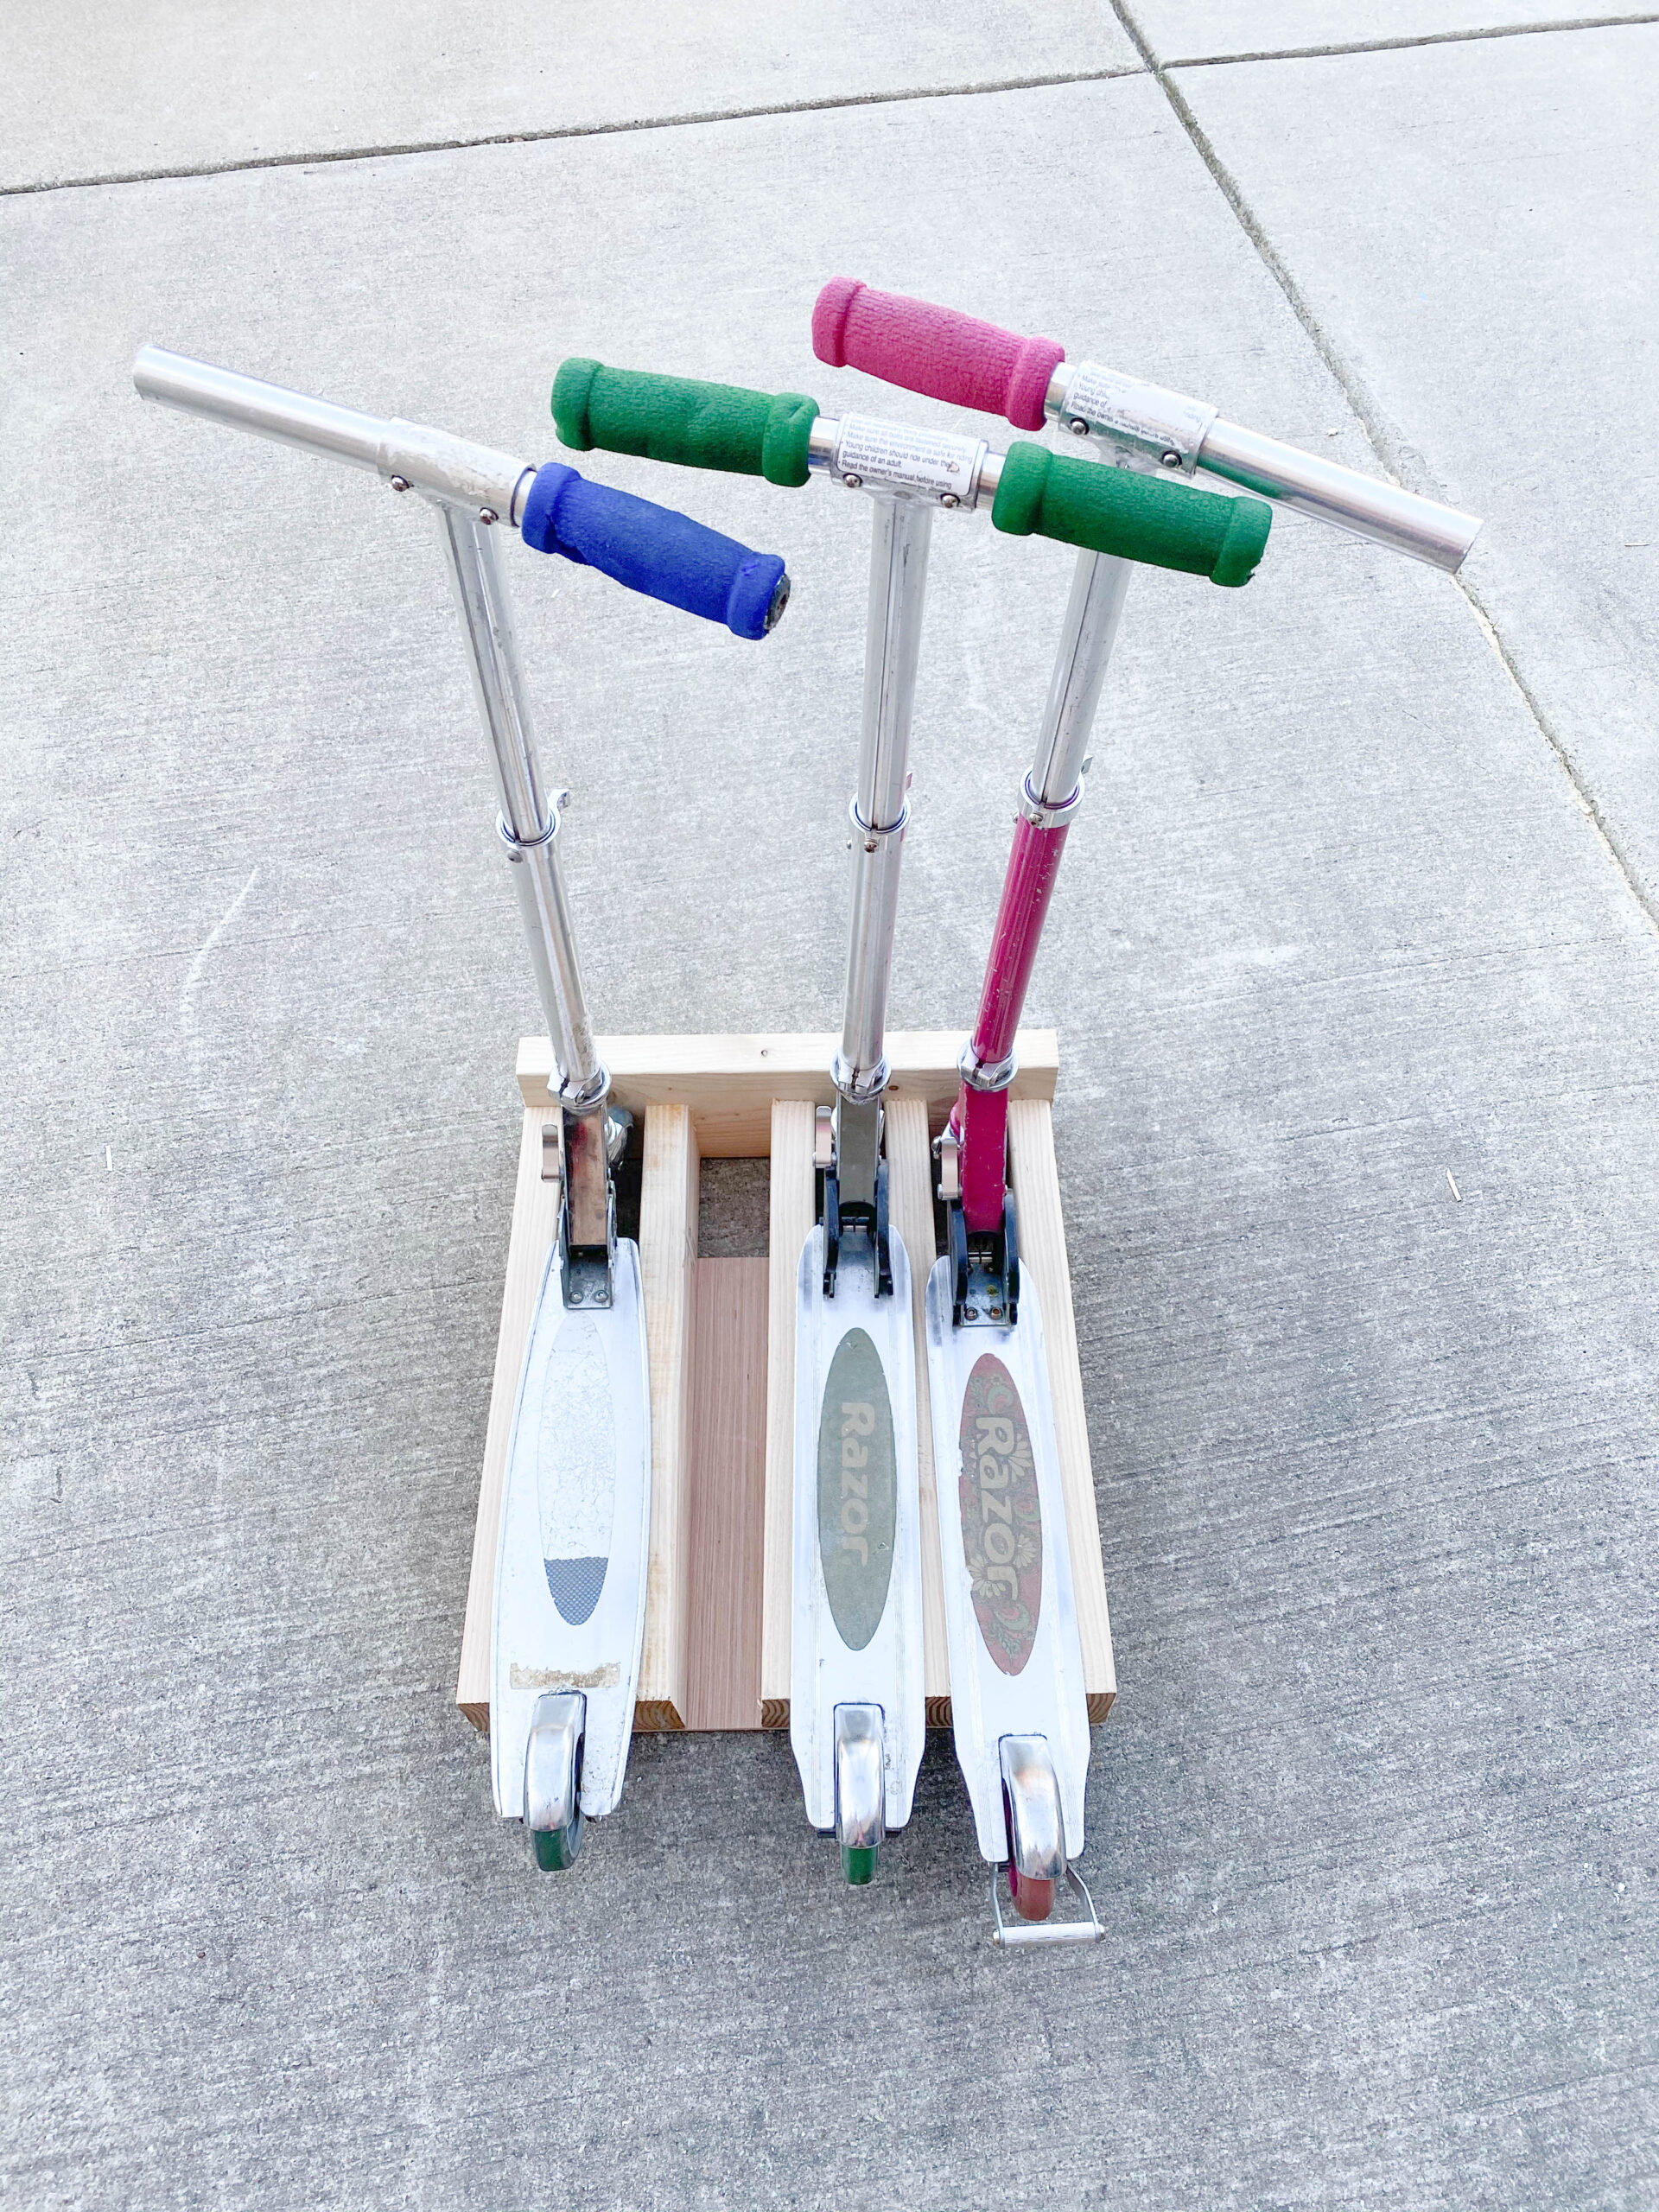
This project literally took me 20 minutes to build. This is a great DIY project for a newbie! It’s practical, simple, and affordable. It also consolidates a lot of wasted space when my kid’s scooters are laying ALL over the floor in our garage.
I built this for 4 scooters although we only have 3 right now. My youngest will eventually have one when she can ride one so I accommodated the rack for the future. Make note that you will have to adjust the width of the scooter rack with the number of scooters you need to store. Add or subtract 4″ for each scooter.
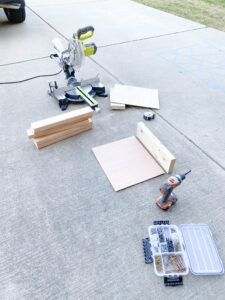
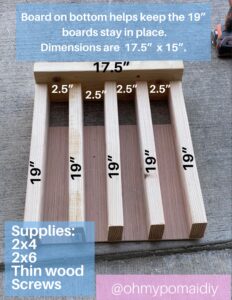
Supply List
Here is what I used–of course your list may differ depending on the number of scooters you have.
1 – 8’x2″x 4″
1 – 2″x6″ (this was scrap, you can use all 2″x4″ for this project)
1 – a thin sheet of wood (again, a scrap piece I had)
3″ screws
1.25″ screws
Step by step tutorial
Cut the 2×4’s to 19″. I cut 5 boards for my 4 scooters.
Cut the 2×6 header piece to 17.5″
Cut the thin wood to 17.5″ x 15″
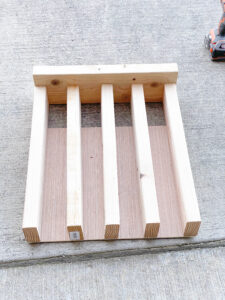
Attach the 2×4 boards to the 2×6 board. They need to be spaced 2.5″ apart. I used 2 screws for each one that you can see in the pic below. You also DO NOT have to use a 2×6 here, I just had this scrap piece. You can use 2×4’s for all the pieces.
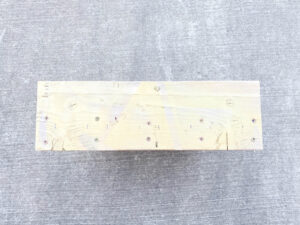
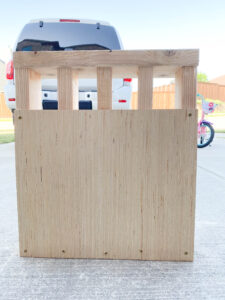
Attach the thin wood to the 2×4’s so that they are stabilized. You can see that I did 2 screws at the top and 5 at the bottom.
VOILA! There you have it! Simple and SO quick! You can even paint or stain it, but I ain’t got time fo that…and my kids will destroy my paint in .2 seconds, so ya.
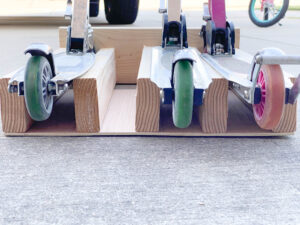
Here you can see the wheels don’t touch the bottom and the base of the scooter rests on the 2×4’s.
Lastly, a simple visual for you to save, download, screenshot for your reference.
Happy building!